


Image Breakdown by Richard Bradbury

Hello and welcome, my name is Rick Bradbury and I am a portrait & commercial photographer based in Stockport.
I hope you are all well given these trying times.
Please allow me to distract you for a little while and show you how the image above was shot and lit in my studio.
First up let’s break down the gear used.
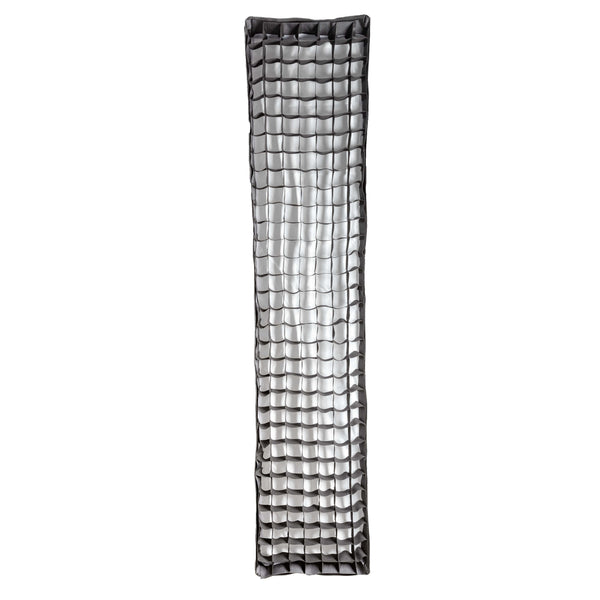
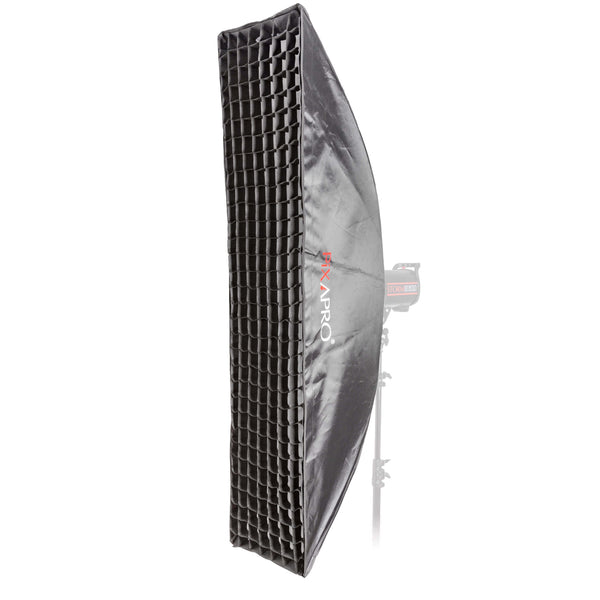
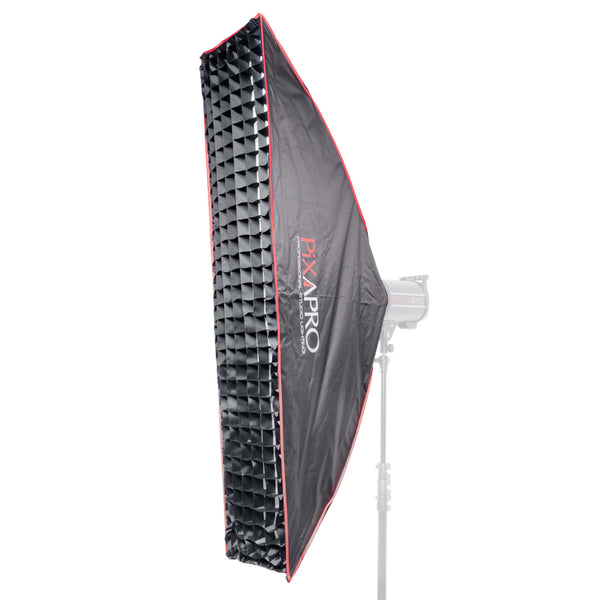
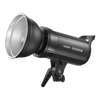
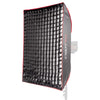
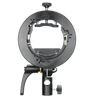
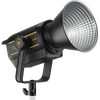
Key Light – Pixapro Storm II 400 & 35x160cm Strip box with 5cm grid.
Kicker/Rim – Pixapro Storm II 400 & 35x160cm Strip Box with 5cm grid.
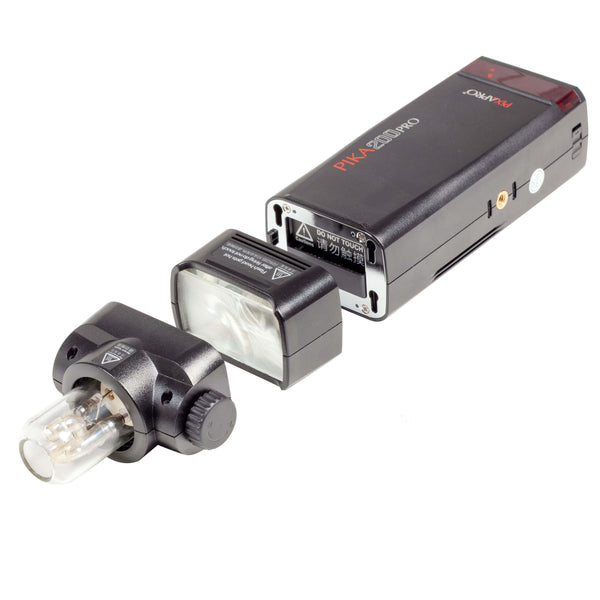
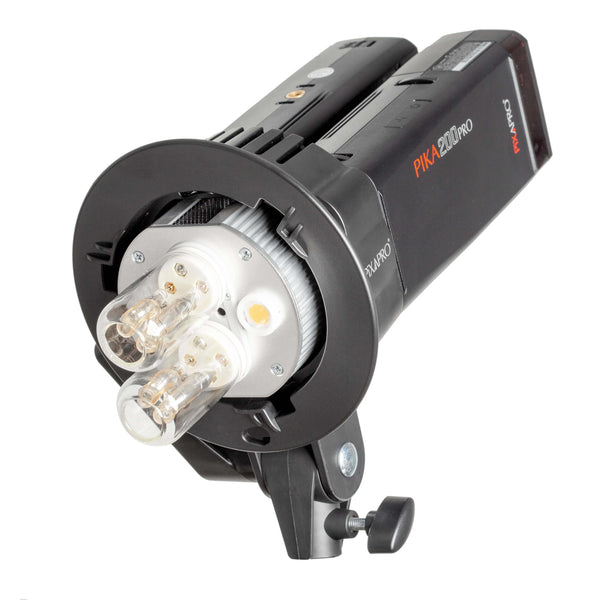
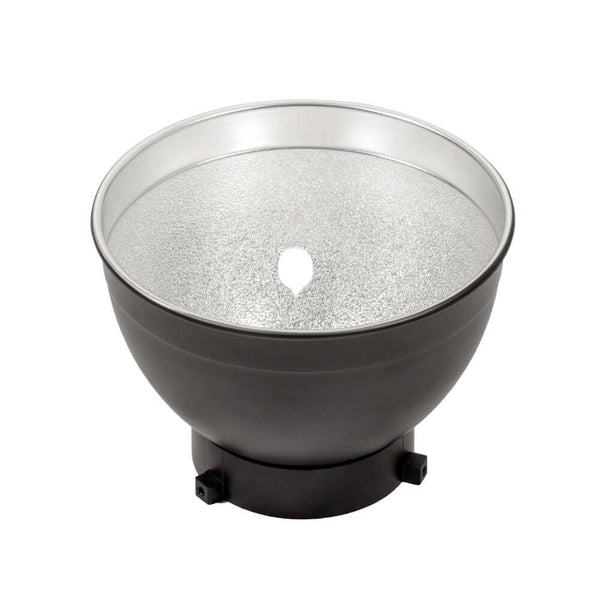
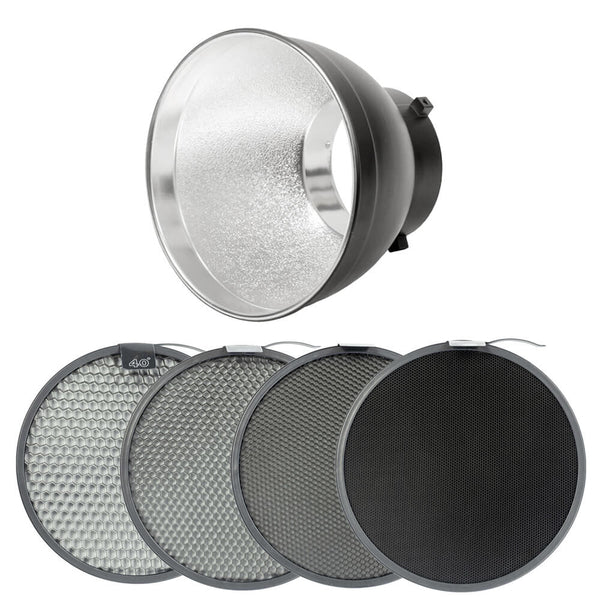
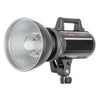
Fill – Pixapro Pika 200 Dual Smart Bracket Kit & 55 Degree reflector with 20 Degree Grid Spot.

Let’s break it down.
In the video below I discuss the image and how it was lit (further breakdown in the blog post also) and go through my Lightroom edit of the RAW file.
Key Light (Storm II 400 & 35x160cm Strip with 5cm Grid)
The key light is where I will generally start, I want to find good exposure and placement for subject shaping/shadow patterns before I move to the next light on the set.
You can of course start with other lights, I just find it easier to work from the key light first.
For the key light I wanted something that would provide a good quality of light and also bring to contrast and drama to the image, the strip box with or with out grid is a great modifier for this task.
It can offer a range of looks from soft light to specular harder light (with diffuser/baffle removed) and also bring contrast/drama with the grid. What a grid does is offer control of where the light hits in your shot, I have said it may times before... I love grids.
The key is placed camera right and slightly behind Rob not ins a true short lighting pattern but certainly more short than broad. This provides a nice highlight to shadow rotation across Rob’s face and provides the drama I was after.

In this image above we have just the key light on, both the rim/kicker & fill lights are off. As you can see, we have a ton of contrast in the image which is perfect and just what I wanted.
But we also start to lose Rob against the dark background. This is not necessarily a bad thing and may be just what you or a client are after, remember it will depend on the final use for the image be that web or print.
For the image I had in mind I don’t want that to happen. To solve this, we need to bring in additional lights.
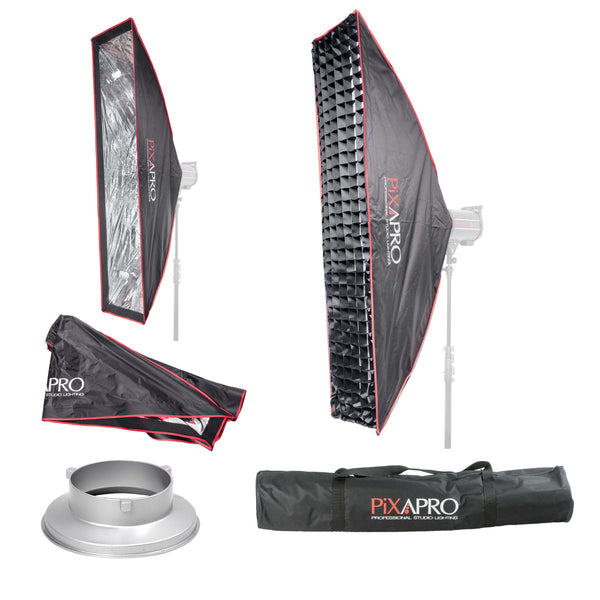
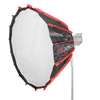
Alternative Strip Box Option – 30x140cm Easy – Open Strip with 4cm Grid.
Personally, I wish I had ordered the easy-open versions myself a few years back as that can be taken on location far more easily than the speedring/rod versions I have, and they offer similar coverage.
Kicker/Rim – (Storm II 400 & 35x160cm Strip with 5cm Grid)
Now for the rim/kicker light. The duty of this light it to bring the back of Rob out from the dark background by lighting his har, shoulders and depending on where the face is turned a little of his (face) camera side.
The final shot is more of a side profile image which is why the fill light was added later.

In the image above we have the Rim/kicker light firing and also the fill (on a lower power than the final shot).
The rim light position was slightly tweaked from the above shot. What I did was raise the power a little and also the height/pitch of the light so it covered more of the top of Rob’s head, this also helped deal with some exposure issues on the yellow back of the chair and shiny hinges.
Pay attention to the detail’s folks.
The Fill – (Pika 200 Dual Kit, Dual Bracket & 55 Degree Reflector with 20 Degree Grid)
The job of this light is to fill in the shadow side of Rob’s face and bring back some detail. For me a fill needs to be subtle and is something that often you won’t notice until it is turned off.
I want it to break up the shadow on Rob’s face but not take away any modelling /shaping provided by the key light.
If we take a look at a fill light only shot at good exposure you can see that is it too much and it flattens out the features of Rob’s face. The fill light needs to be taken down 2-3 stops to prevent this.

Remember the duty of the fill light in an image it to control contrast but also shape, and it is a very powerful tool to use in your photographic arsenal.
The fill light in this image also provided further separation on the background as it is placed to spill past rob when he leans back in the chair as in the final image, what this means is I am actually using the feathered edge of the grid as the fill whilst the rest of the light from the grid spills past. Double duty.
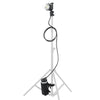
Let’s take a look at the lighting setup over all below. (image in colour and has exposure/shadows raised so we can see things a little easier).

In the above image we can see the lighting setup in place and ready for the final shot. We can also see where the light from the gridded strip boxes falls on the floor and also the light spill on the background from the fill light. Please note the above image is not a true representation as it has exposure and shadows lifted in post.
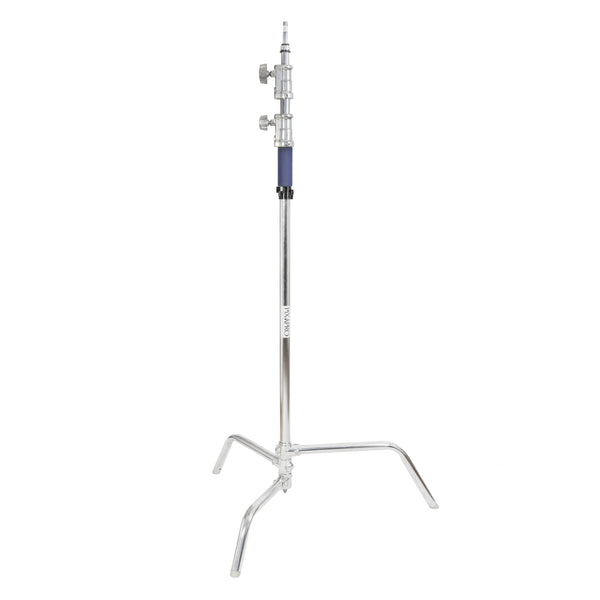
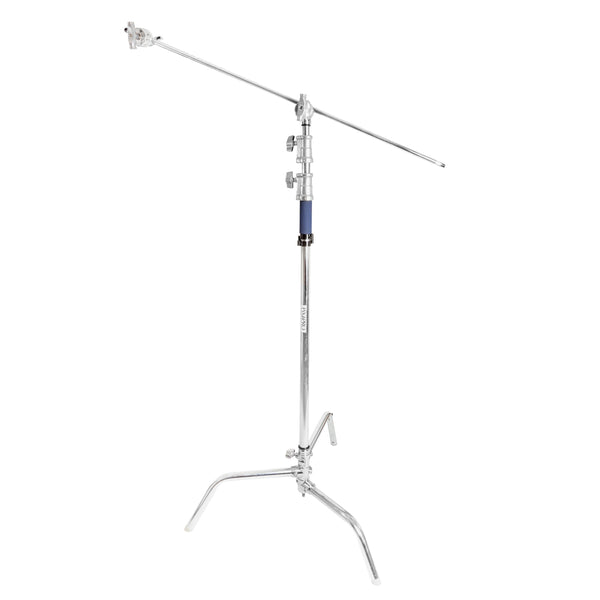
The Pika’s are boomed over set using a Pixapro C-Stand and 50” boom arm. Great solid stands that will be with me for years to come, yes c-stand are heavy but they are rock solid.
Final Thought’s
Remember set your key first if you can as this will dictate where you start exposure wise and the shadow pattern you can start to build or augment later with fill.
Each light is it’s own in terms of coverage, duty, exposure but they can sometimes pull double duty by providing a fill ( or key ) and also lighting a background.
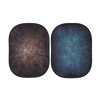
You can also use your light modifiers as a graphic element in an image like in the shot below. I love doing this.

Thank you for watching/reading. If you have any questions fire them over and I would be happy to help.
Huge thank you to Rob for sitting for me. You sir are a gent.
Take care and stay safe everyone.
Rick
RJ Bradbury Photography
To see more blogs from Richard, with more helpful information, tips and tricks visit https://www.rjbradbury.com/thecraft