


Let Fill Light Elevate Your Work by Rick Bradbury
"Hello everyone, it’s good to be back on the EP blog again. My name is Rick a portrait & commercial photographer based in Stockport, UK.
For this post, we will be talking about fill light and how it can elevate your work. When many of us start out shooting any work let alone portraits, we start with one light and that’s a good thing, not only does it simplify the learning process it also produces some great results.

One Light – Pixapro Storm II 600 modified by a 60” shoot-through umbrella. No fill at all, just one light and let the shadows play.
We can however elevate some images further via the use of a fill light or fill source.
Quick Tip – Make sure you are only capturing the flash or wanted light sources and not any room lights or modelling lamps on your strobes. This is so you have total control and are dealing with one colour temperature of light.
In my studio, I can shoot at 1/160th, ISO 100 F5.6 and be ok but F8 is better to kill any room and modelling lamps. I tend to run modelling lamps as they will help the cameras autofocus system obtain focus lock.
Either way, you want your test frame with your triggers turned off to be black. Nothing recorded.

What A Fill Light / Source Does.
A fill light or source is used to control shadow density and contrast within an image. Sometimes we want shadows to plunge to black and other times we want to maintain some legibility in the shadows. This could be due to the final print medium to be used or because we still want to see parts of that product, dress or person which are in the shadows.
What are the two types of fill?
Whilst we have many ways of applying fill to an image from a tool choice/placement perspective let's keep it a little more simple and consider the two different types of fill.
1. Active Fill – This is when you use a second light source (flash, continuous) to work as a fill light within your image. It is a separate light, so you have total control of its position, direction and output via the power setting.
The image below shows a BTS shot of a set that has an active fill light in use. A separate light that I can place and control, giving me total flexibility with shadow density and contrast within an image.

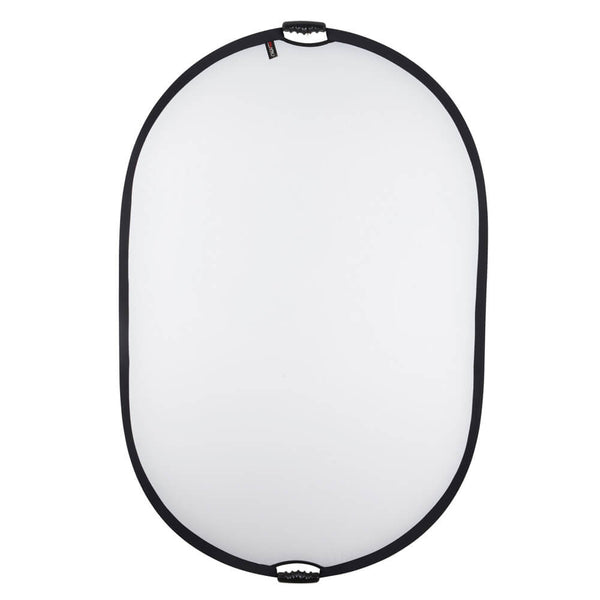
2. Nonactive Fill – A nonactive fill is basically a reflector or bounce card.
It is used to recycle light from typically your key light to bounce light back into shadow areas. It can be used very effectively in a lot of setups, and you have some control in the form of distance from the subject, but you will only be able to make use of that reflector at certain angles in relation to your key light. The angle of incidence = angle of reflectance.
You will never have as much control as an active fill provides but you can get a lot done all the same.
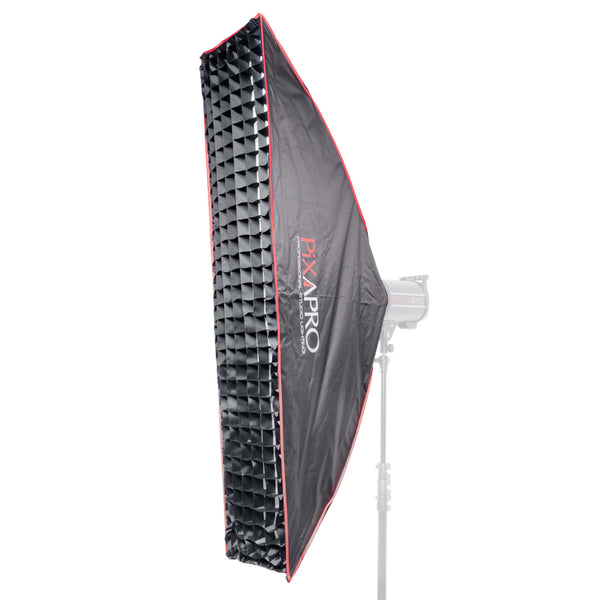
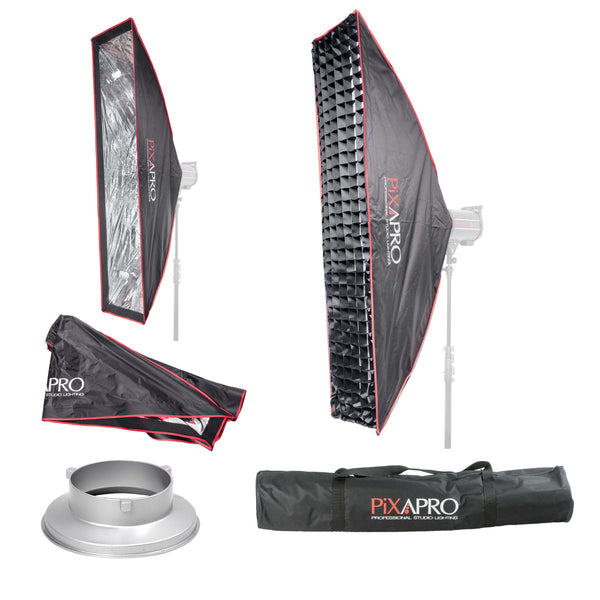
A good nonactive fill tool is a 5 in 1 reflector as it can be used to bounce light, diffuse light (think active fill) and provide negative fill with the black cover. A valuable tool for any bag/studio.
If you don’t own one of these yet I would personally pick up a large one first as it can be used in more situations than a smaller one, such as the 100x150cm 5in1 Collapsible Reflector.

You can also use sheets of white foam core to bounce light like seen in this BTS image above.
Let’s take a look at some examples.
Example One – Active Fill
In this image of my friend and model Emma I had a main/key light boomed over set in the form of a Pixapro Storm II 400 modified by a 21.6” white beauty dish. The fill was another Storm II 400 modified using a standard 7” reflector and then fired through a large 5in1 diffusion panel.
More details of the light positions can be seen in the time-lapse video below.
If we just have the fill light firing we get a very dark image as seen below

This is only the fill light which is normally dialled in around 2 stops under the main light, although I will adjust to taste as required. I tend not to work to lighting ratios but go off the final image on the calibrated tether station instead.
The fill just lifts shadow detail without changing the lighting pattern of the key light which was set for the person and clothing worn. I want to maintain the shape and ripples in the dress and pushing too much fill or lighting to a 1:1 equal ratio will kill all that shape and form.
Once we fire the main light and fill it together, I will assess the final exposure, highlights, and shadows and either calls it good or make an adjustment. Remember light is additive in terms of exposure.

Final image. Two Storm II 400 lights are used to control contrast and maintain shape and form showing the dress and its texture and features and lighting the model/client in a flattering manner.
Final Camera Settings - Canon 5DsR, 85mm f/1.4L, f/8.0 ISO 100 1/160th second, White Balance 5400K
If you are wondering about what power the lights were on; I can’t tell you unfortunately and frankly without measuring the distance and noting it, the power settings are irrelevant anyway. I don’t note such things whilst shooting and tend to work from experience. It would just take too long plus your lights, modifiers and shooting space will differ so the number of variables is quite substantial.
Example 2 – Active Fill + Nonactive Fill
This shoot was for two actors and stuntmen.
One of the setups involved 4 lights and a large silver bounce panel.
Key Light. Storm II 600 Modified By a 90cm Easy-Open Octa
Kicker/Separation Lights 2x Pixapro CITI600 Pros modified by 30x140cm Easy-Open Strip Boxes.
Active Fill – a Pixapro CITI300 Pro modified by a 60x120cm Easy-Open Off-Set Softbox
The shot below is just the fill light alone. Just to show you what it is doing.

Then we all the other lights. That active fill light helps with the fall-off caused by the placement of the key/main light whilst the active fill opens up the shadow side a little

Example 3 – Nonactive Fill
I tend to use a nonactive fill when shooting headshots and this can vary from using a small 5 in 1 reflector and its white panel or some white foam core. I talk more about how I approach headshots my other post on the EP blog here
That sheet of white foam core works great for headshots.
In the headshot below I used it to open up the shadow side of the client preventing the hair from going too dark. The main light was a Pixapro Storm II 400 modified by a 120cm Easy-Open Octa.
This provide nice soft light and still gives me some control over the overall contrast in the image as I can move the reflector closer to reduce contrast or further away to increase it.

Final Image settings – Canon 5D Mark II, 85 F1.4L, ISO 100 1/160th, F4, WB 5400k.
Example 4 – Nonactive Fill
For this headshot, I used a white diffusing panel to bounce the fill light back into the image.
As the main light was boomed overhead, I have to change the position of the nonactive fill. I could have done this with some white foam core but because the reflector can show in the bottom of the eye I proffer it to match the shape of the key light.

Key Light – Pixapro Storm II 600 modified by a White 21.6" beauty dish with sock.
Nonactive Fill – 5in1 Reflector.
The placement of the reflector underneath the key just catches the spill from the key light and lift the shadows under the chin, nose and eyes. Silver would have added too much as it is more efficient but also change the colour temperature of the fill which I don’t want in this case.

Final Image Settings - Canon 5D Mark II, 85mm F.4L, ISO 100, 1/160th F4, WB 5400K
Conclusion
Remember a fill can be either active (offers more control) or nonactive and each has a place in the tool kit.
A fill light or source is deployed to control contrast (reduce it) and provide some legibility in the shadows, it can also help resolve issues where darker hair could bleed int to a darker background although you have background lights, hair lights and kicker lights that can do that.
The main things to watch out for when using any fill option is to…
- Make sure it does not ruin any shadow pattern on your subject as this is what will help define shape and form.
- Try to make sure you don’t introduce a different colour temperature when using a fill as this can influence skin tones or colour overall.
- Think first. Does the image need a fill light or source, if so which type? This could be dictated by the final look wanted and the tools you have at hand.
Whilst fill can elevate your work it is not always needed and just running one light is the way to go.
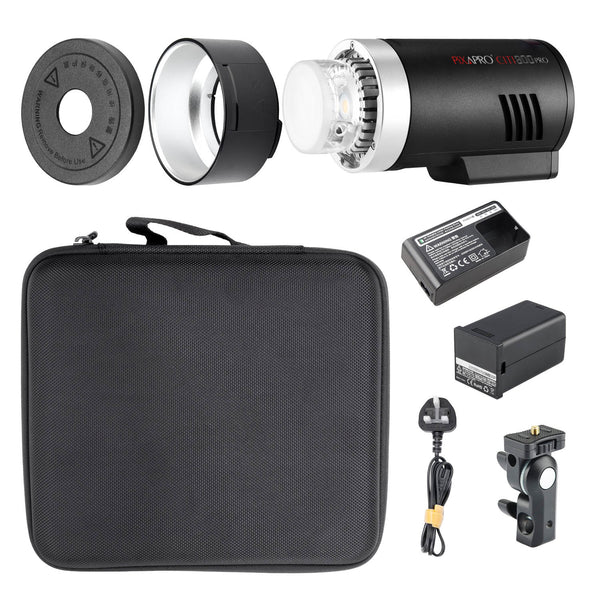
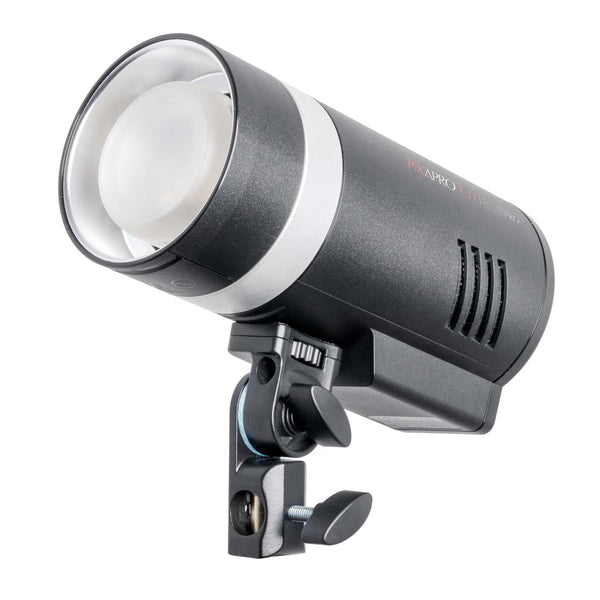
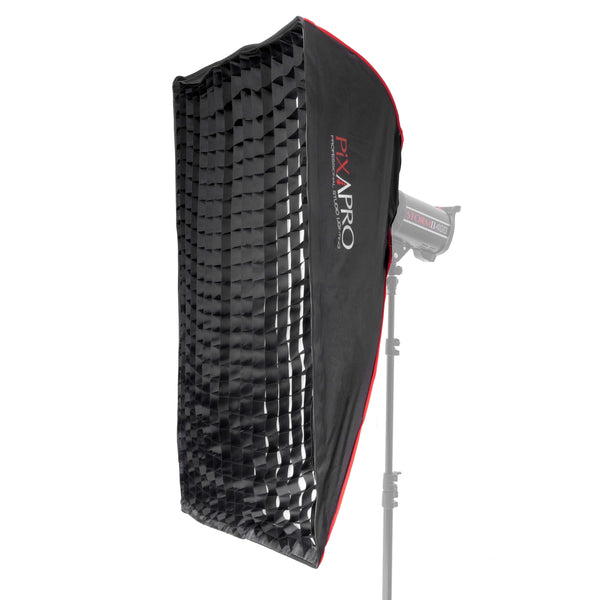
Other Equipment Used
Thank you for reading. Any questions just ask.
Rick
www.rjbradbury.com
Facebook Group "