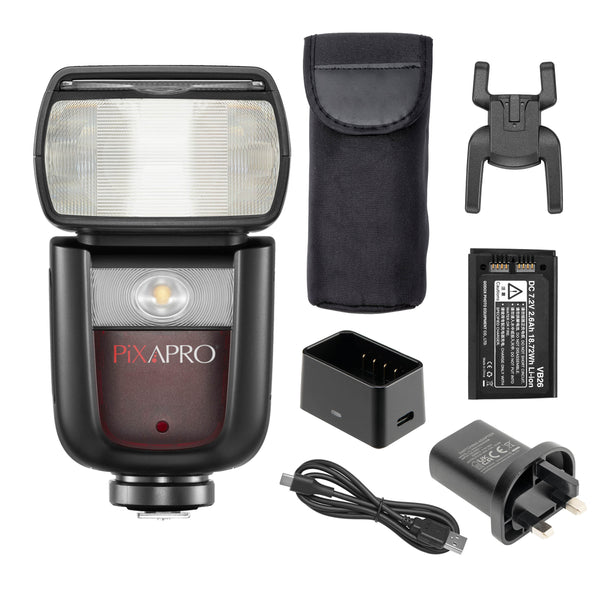


Richard Bradbury's Budget Flash Kit
It feels good to be back on the EP blog again. I hope everyone is well. For this blog post, I wanted to put together and write about the best budget studio lighting kit for those getting started in the world of studio lighting and off-camera flash. This kit can be used in pretty much any genre of photography and can be added to and built up over time as needed.
Estimated read time: 10 minutes
Let’s get into it.
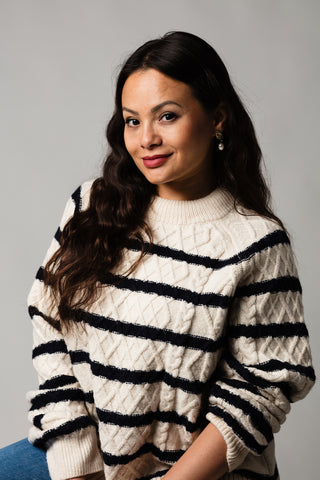
The images in this post have had a little retouching done, so you can see the light quality on both Gwendoline and the background alike.
Contents:
Set-Up #1: 60" Reflective Umbrella & Small Reflector
SetUp #2: Let’s Get More Dramatic: Makeshift Softbox
Set-Up #3: Shoot Through Close Up
Set-Up #3.5: Shoot-Through Full Length
Set-Up #4: Hard Light With A Bare Flash
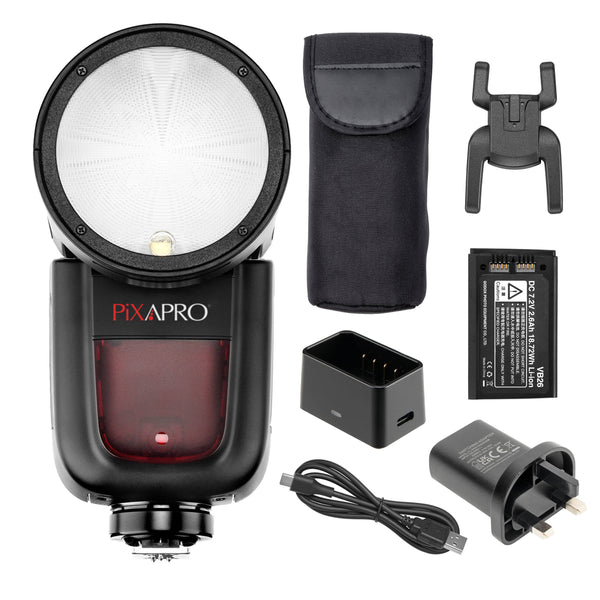
What You Will Need
This studio lighting kit will consist of the following items.
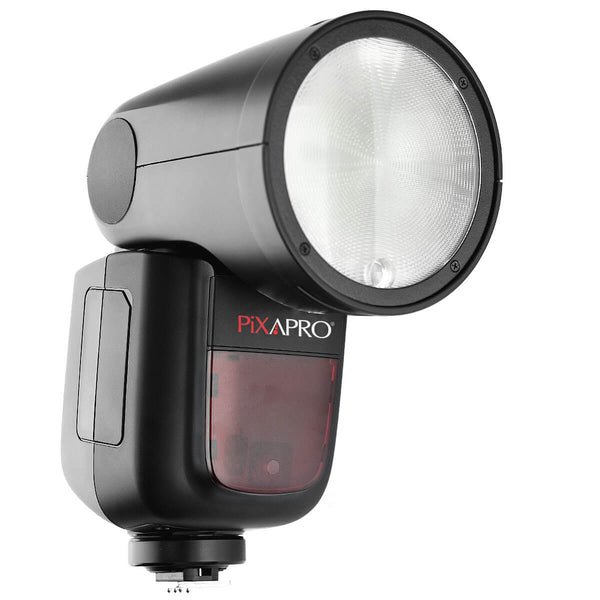
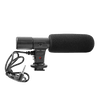
#1: The Flash Lighting – Your light source.

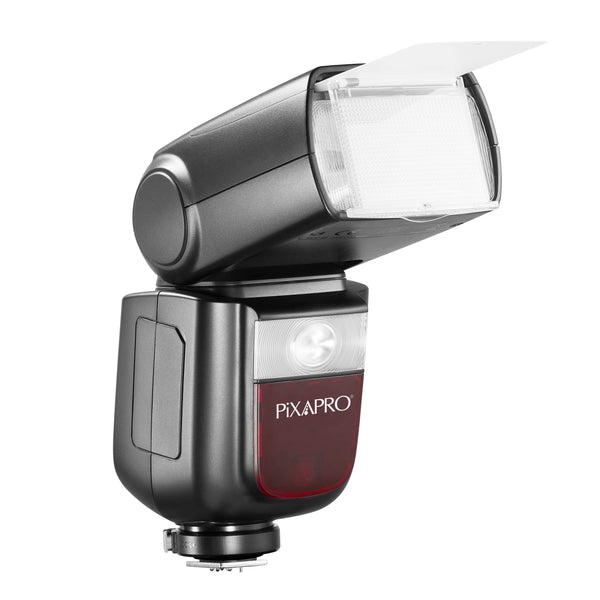
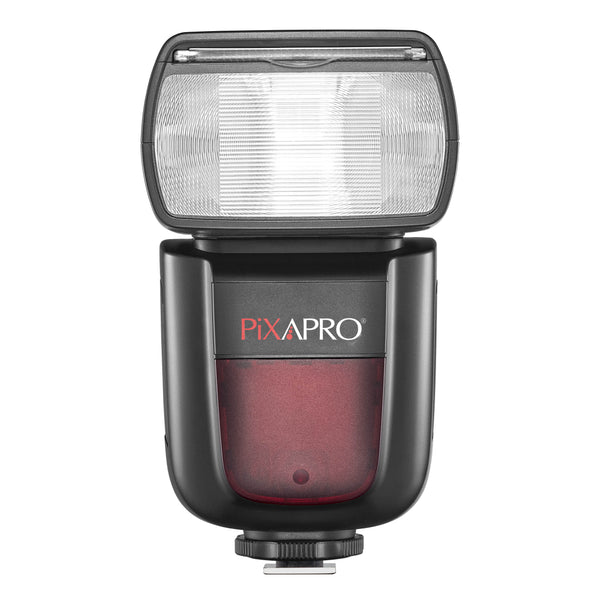
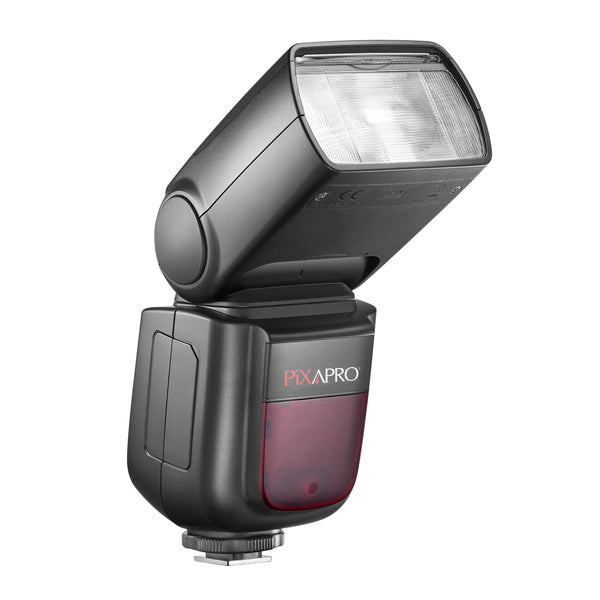
For this, we will start with the humble and yet very capable speedlight. AKA: the hotshoe flash. These little flash lightings can get a lot of work done, and they also take up very little room in a bag.
Given their small size they can also be hidden or placed where larger strobes/studio lights cannot, and are easy to gel for colour correction or creative work. The speedlites I own are older generation PiXAPRO LI-ION 580, 580 II units and one GIO1 TTL round-head speedlite.
TTL (Through the Lens) is an automatic flash exposure metering technology where the flash and camera communicate and meter the scene to decide the flash output/exposure.
Personally, I only ever use it for events as I like to be in control of the flash output myself. The manual versions of the flash tend to be cheaper. One other amazing thing about the PiXAPRO/Godox line of speedlites is most of them use a rechargeable battery which just seems to keep on going.
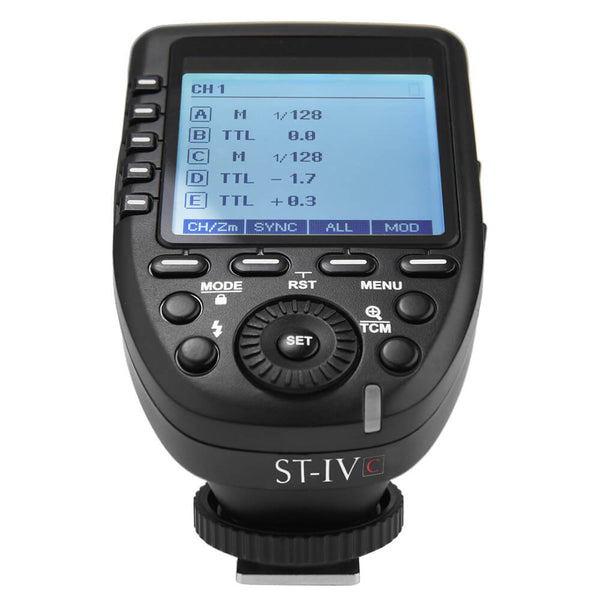
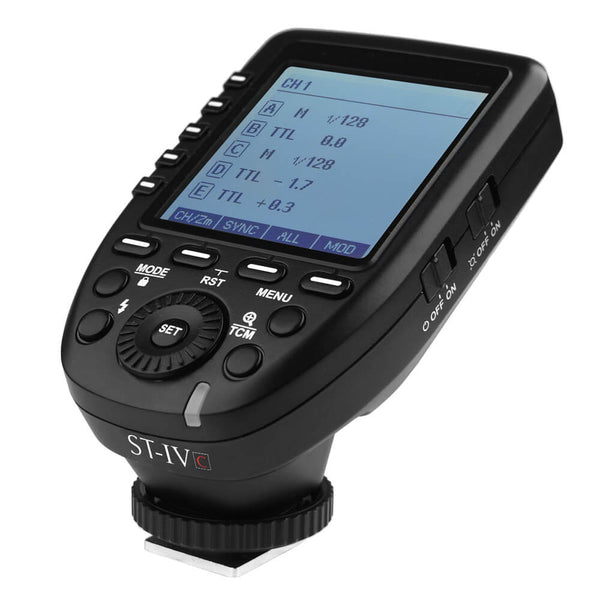
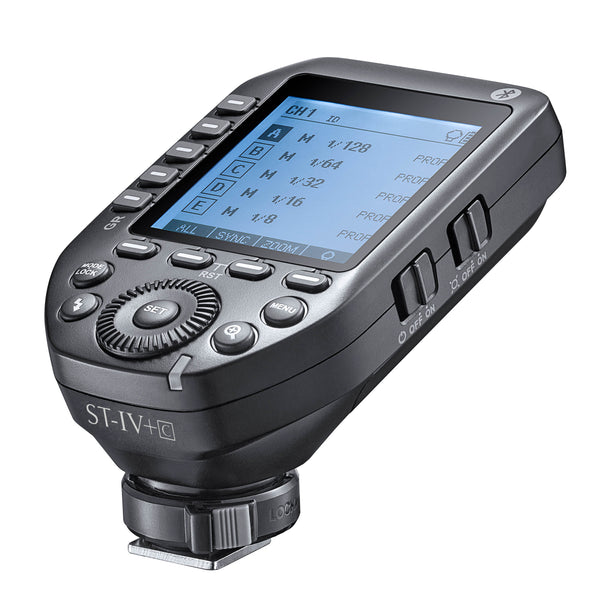
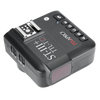
#2: The Flash Trigger

Now, we need some way of triggering the flash from the camera. Gone are the days of optical triggering flashes.
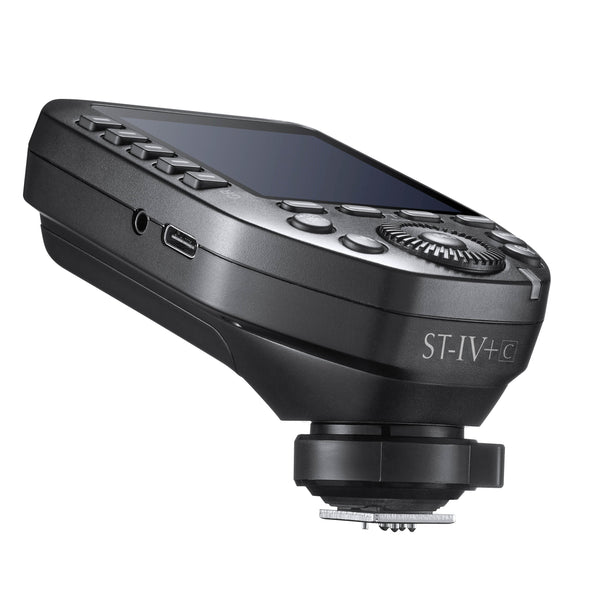
The wireless flash trigger I recommend is the PiXAPRO 2.4GHz ST-IV Trigger as it's a great trigger with a nice clear display. A newer version has been released with the ST-IV+.
It will work with any PiXAPRO or Godox flash and can also handle TTL and high speed sync signals, so it will stay with you as you add to your studio lighting kit.
A cheaper, universal hotshoe alternative is the 2.4Ghz Pro AC trigger. You will need two AA batteries for the triggers.
TIP: You will need to buy the trigger that fits your camera if you want to use TTL or HSS (High Speed Sync) features.
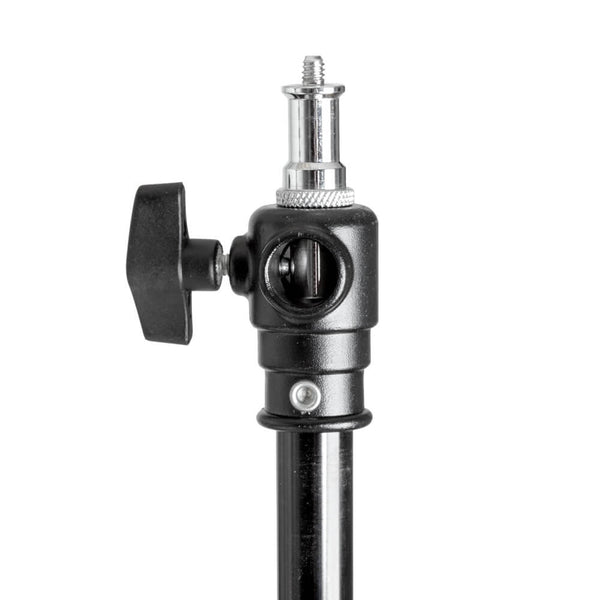
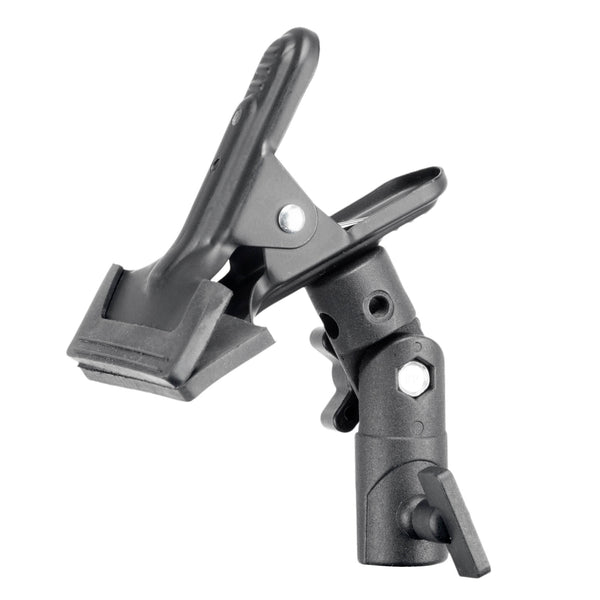
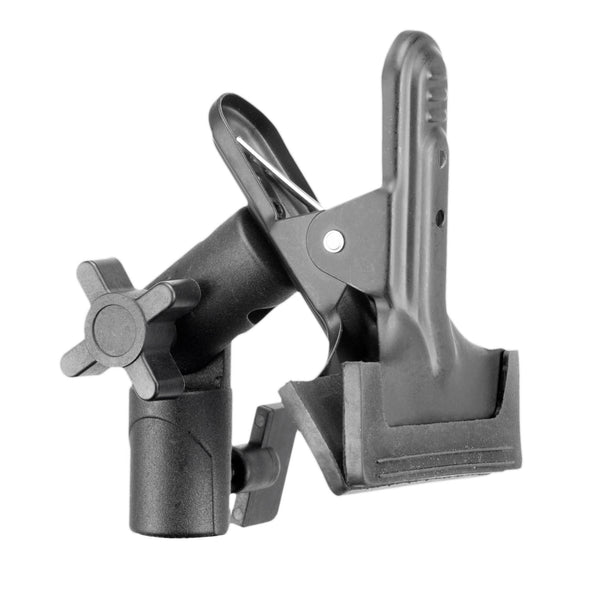
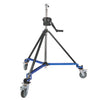
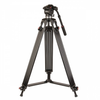
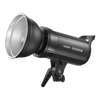
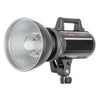
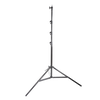
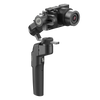
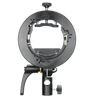
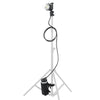
#3 The Light Stand and Bracket
Whether, you're looking for best budget lighting kit, light stands and grip are something you will collect over time. I have about 20 stands and could not tell you how I ended up with that many, I think they duplicate during the night. To get started you can run with one stand but having two will help you to hold a reflector or a second light later when you add to your studio lighting kit.
I recommend investing in a decent stand that is air cushioned as they are still portable and will also save kit in the long run. See the 240cm Air Cushioned Light Stand.
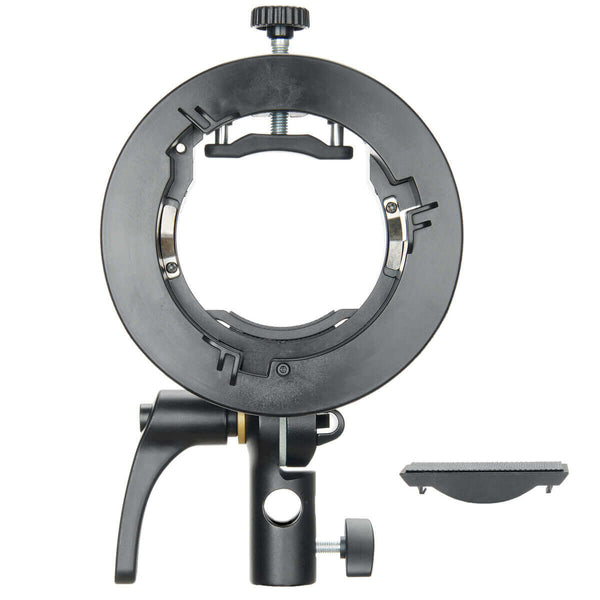
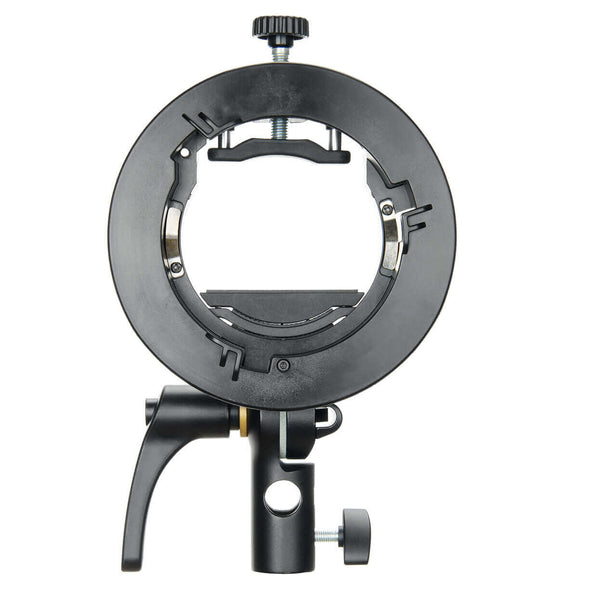
Bracket-wise I recommend the SMART S-Type Adapter bracket these days and whilst it is a tad more bulky than a typical umbrella swivel bracket it can do so much more and will grow with you as you expand your lighting kit later on.
 |
 |
This bracket will hold speedlites, AD100 Pro, Pika 200, CITI 300 Pro, CITI 400 Pro lights and will work with studio umbrellas and Bowens mount modifiers like soft boxes and octaboxes.
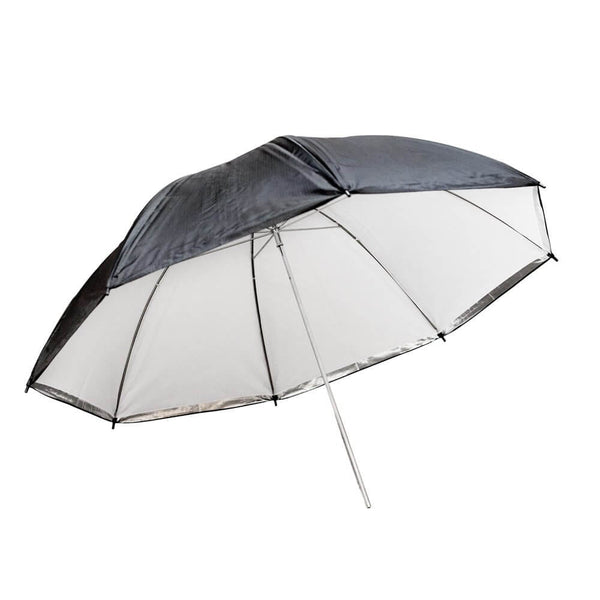
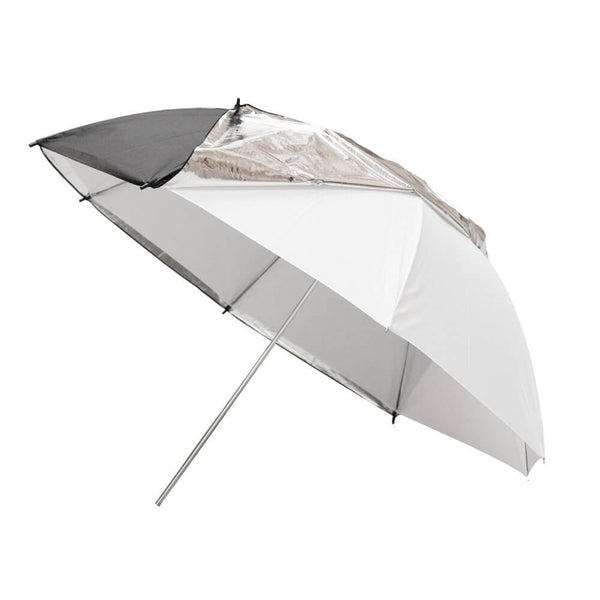
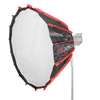
#4: 40 Inch Convertible Umbrella

This 40" umbrella type has a removable back so you can set it up in reflective configuration or shoot through. These light modifiers are one of the best budget lighting kit and can provide options both in studio and out on location. Just be careful in windy conditions!
You can use them as a key light, fill light, to diffuse flash or constant lights. I have used one to diffuse direct sun light for a portrait before. Plus, if you need to light a larger scene or group shots umbrellas are great.
Another major plus for umbrella photography is they pack down small, so are great for location work.
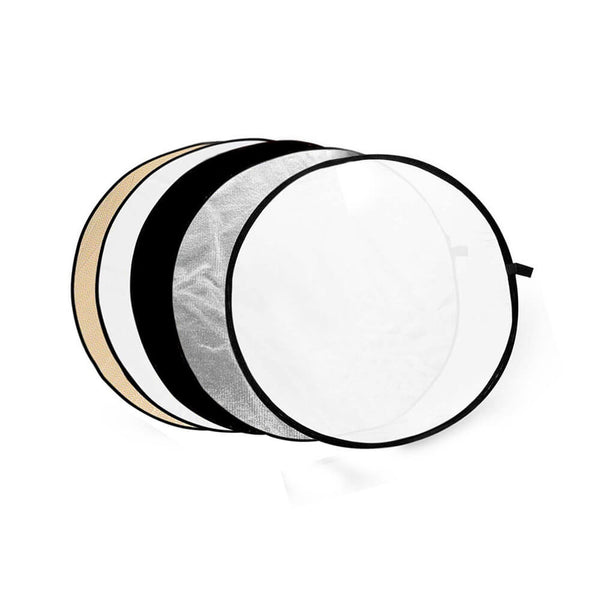
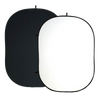
#5 A Simple 5 in 1 Reflector

Reflectors come in many sizes, and I always have one in the front pouch of the main lighting bag. They can be used to diffuse light, bounce light, subtract (black cover).
60cm Circular Reflector (Perfect for portrait photographys!)
100x150cm Reflector (Better for full length for more coverage)
See similar: 3 Tips for Using 5-in-1 Reflectors.
Set-Up #1: 60" Reflective Umbrella & Small Reflector

In this example we have the umbrella in reflective configuration. This will use a little more flash power compared to shoot through as the light has to travel, hit the umbrella and bounce back. This provides a nice wash of light and can be worked kind of close. Watch out for the umbrella shaft making an appearance in the corner of your frame.
 |
 |
 |
| The reflector adds fill into the shadows. | This lifts them and adds a wider wash of light. | If we take the reflector away the shadows get darker adding more contrast and drama. |
Overall, a nice light and great for group shots.
Quick Tip: When working with a speedlite and umbrella make sure that the flash head is zoomed out about 24mm so it fills more of the umbrella modifier.
You can also control the amount of light filling the umbrella by either zooming the flash head to a tighter pattern or changing the umbrella position relative to the flash head by moving the umbrella shaft in or out on the bracket. In effect you can make that larger umbrella smaller providing a harder light.
SetUp #2: Let’s Get More Dramatic: Makeshift Softbox
Have you heard photographers say that umbrellas provide very little control for your lighting? I think they're wrong. Before I bought my first softbox I made do with this umbrella and made it work. I picked this tip up off Zack Arias years ago.
Want more control with an umbrella? Just close it down. What we end up with is a make-shift soft box. AKA the poor man’s softbox.
 |
 |
 |
This will give you a darker background than when the umbrella is fully opened as the edges become your control.
We can go even more dramatic by walking the light to slightly behind the subject. This provides a short lighting pattern.
 |
 |
Whilst I did not use the reflector here you could do if the shadow was a little too much for your taste. Very dramatic.
Set-Up #3: Shoot Through Close-Up
My favourite configuration for umbrellas as it means I can get the light in nice and close for a nice soft light and gain rapid fall-off.
The larger the light source is relative to your subject, the softer the light will be, and the light being close means fast fall off thanks to inverse square law. Doing this means soft light and good amount of contrast.
 |
 |
Shoot-Through Setup Without Reflector
I love this kind of look. You can sometimes end up with bare flash meeting the background resulting in a shadow from the edge of the umbrella, not a problem if it is framed out but just something to watch for.

A really nice quality of light from the shoot through with just a touch of fill from the reflector. If you want to add more fill just move the reflector in closer.
Set-Up #3.5: Shoot-Through Full Length
Now this will mean moving the light further away to provide better coverage for a full or half-length portrait which also means we need more power from the flash. I was between ½ and 1/1 power in the full-length images so just watch your recycle times and shooting pace.
We will get a lighter background as the light has more distance to travel before reducing in exposure or falls off.
 |
 |
 |
Full-Length Shoot-Through Lighting with No Reflector
Good coverage head-to-toe and, if needed, we could add a larger reflector to lift the shadows. Just a case of seasoning to taste.
We can even help the flash a little and shoot at ISO 200 or 400 assuming the ambient light in the space won’t be an issue, this way we get faster recycle times and save battery as well as the flash power can be brought down.
 |
 |
So far, this little and budget lighting kit has shot close portraits, dramatic portraits, provided soft light, covered a seamless set and shot full length portraits. The little kit that can.
The best of this budget lighting kit is it will grow with you and the trigger and lights will all play together via the 2.4GHz trigger system.
But.. wait a moment - we have a speedlight in this kit, right? That means we can use it to produce hard light as well. Bring on the contrast and shadows.
Set-Up #4: Hard Light with a Bare Flash
Remember that the speedlite head can zoom so we have options to play with even just using the bare flash.
 |
 |
 |
| No umbrella and no reflector. | Zoomed out bare flash. | Zoomed in bare flash to produce a focused beam of light. |
Want more control of the light hitting the set but don’t have budget for a grid? No problem. Just zoom the speedlite head to 105 or 200mm and you have a more focused beam of light to play with. You will need to reduce the power a little as we are concentrating that light on to a smaller area.
Result? A hard dramatic light with no grid required. Perfect.
If you are just starting out and need an in-budget lighting kit to get you started, then this may be the perfect fit for you. It’s cheap as studio lighting kit goes, flexible, portable and gives you a ton of options.
Bonus Images.
 |
 |
 |
|
Speedlite Kit & Shoot Through Umbrella |
Speedlite Kit, Reflective Umbrella & Small Reflector (Poor Man's Softbox) | Speedlite Kit & Shoot Through Umbrella – Included Ambient Light so also CTO gelled the speedlite to match the ambient. |
 |
 |
 |
| Same shoot but bare flash bounced off the white wall in the conservatory. | Speedlite & Reflective Umbrella closed down to control spill on the environment. The light was boomed above by an assistant. | Bare speedlite zoomed and then modified by gaff tape to reduce the size of the flash head. |
Conclusion & Cost
You can do a lot of work with this kind of budget lighting kit, and it will most likely stay with you as you upgrade or add lights and kit later.
In total this kit will run you £321.95 for one stand and the manual speedlight as of November '23.
You could add a second stand and a reflector grip clamp if working alone or you can ask someone to help and hold the reflector for you.
As your skill set grows and needs change you can built on this lighting kit with the reassurance that it's versatile and will grow with you!
A huge thank you to the wonderful Gwendoline who modelled in these images. Go give her a follow.
If you have any questions, feel free to reach out and ask.
Thank you for reading.
Rick
RJ Bradbury Photography
www.rjbradbury.com