


Using Daylite 60Ds to Shoot Dramatic Portraits with Andrew Cockerill
"The past 2 years has been difficult for everyone. With shoots being postponed left and right, and limited contact with others, it has made shooting difficult to say the least. During those two years, as many of you well know, we've relied on online meetings to try and keep what was left of our businesses ticking over and Zoom-ing to network.
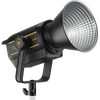
With my office not being the brightest place in the world, I decided to invest in some lighting equipment to make my online presence look more professional. After searching online and only finding lights that were not only completely out of my budget but also completely overkill for what I needed, I came across the Pixapro Daylite 60D and thought “Perfect! That’s exactly what I need.”.
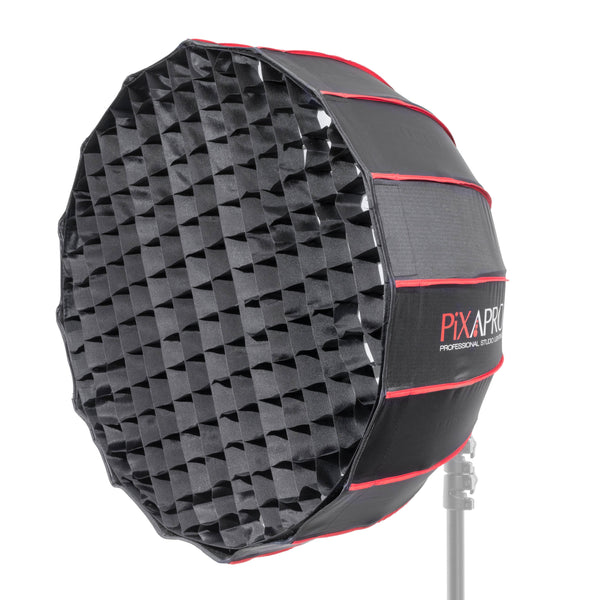
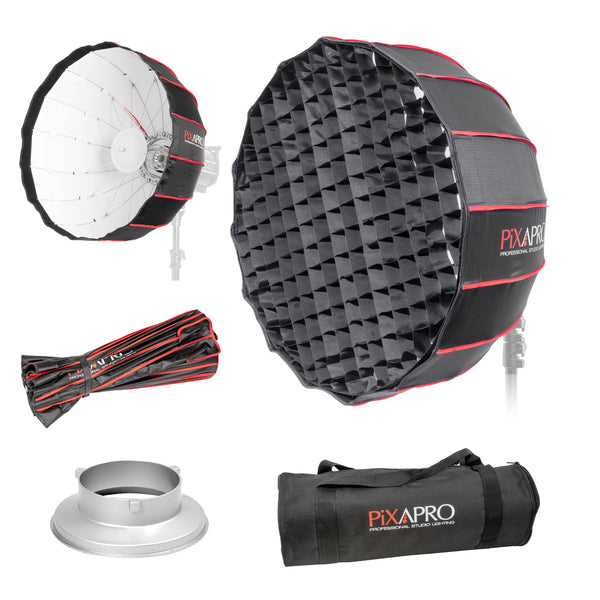
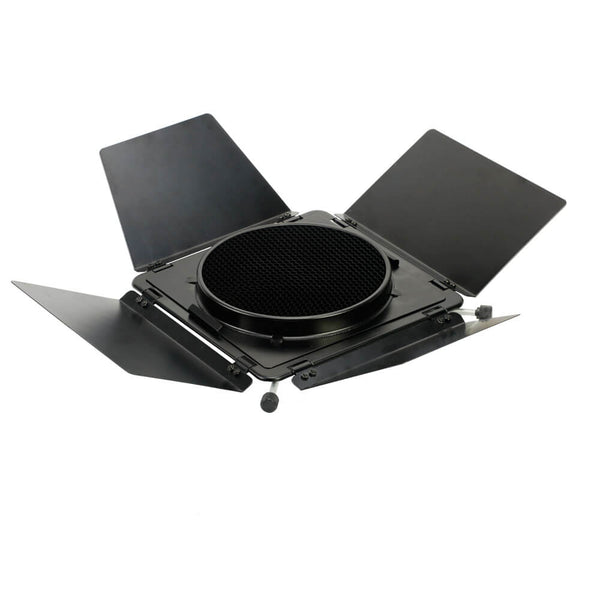
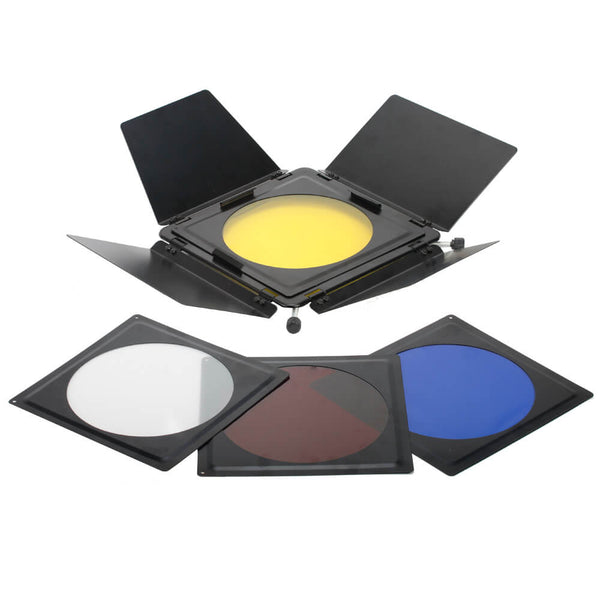
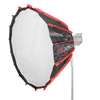
I bought one Daylite 60D along with the Pixapro 65cm Ricebowl Octobox and was immediately blown away. The build quality, colour balance and price made this one of the single best purchases I have made. Instantly I bought another, but this time, instead of going with another softbox, I opted for the Universal Barndoor with Honeycomb and 4 Colour Gels as a modifier. The setup was perfect. It completely elevated my look online. Then I thought, “If these lights are that good for video, I wonder how good they’d be for photos?!”
The thought was there, and I just had to give it a go.
The Shoot
My brother-in-law, Josh, is part of the Ardudwy Knights re-enactors and for a while, I’ve been trying to pin him down in his authentic medieval knights armour and I wanted to create a set of 4 or 5 dramatic portraits including a headshot, a helmet shot, a ¾ shot from the waist up and a sit down shot. I got access to an old unit in my local area and wanted to use the wooden doors as a backdrop. So we moved the beer barrels out of the way, set up the 2 Daylite 60D’s and started shooting.

When lighting my subjects, I try to match the ambient light sources as much as I can. I always find lighting is best used to enhance light that is already in a room rather than competing against it. However, as it nightfall quickly came upon us, this opened up quite a bit of room to experiment with the lighting.
The Gear
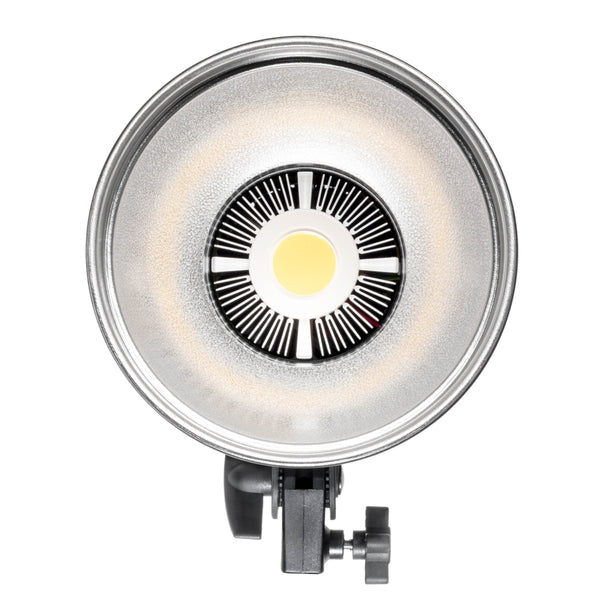
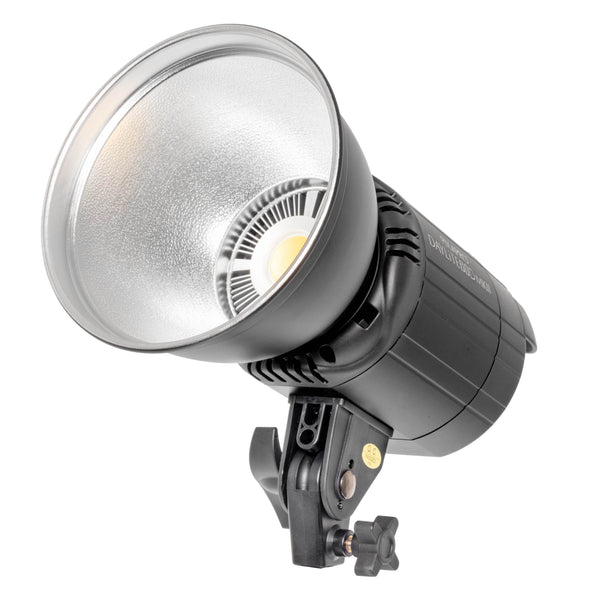
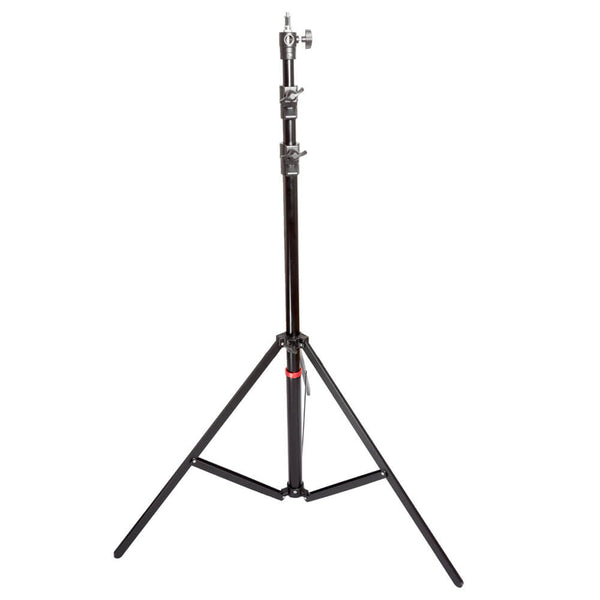
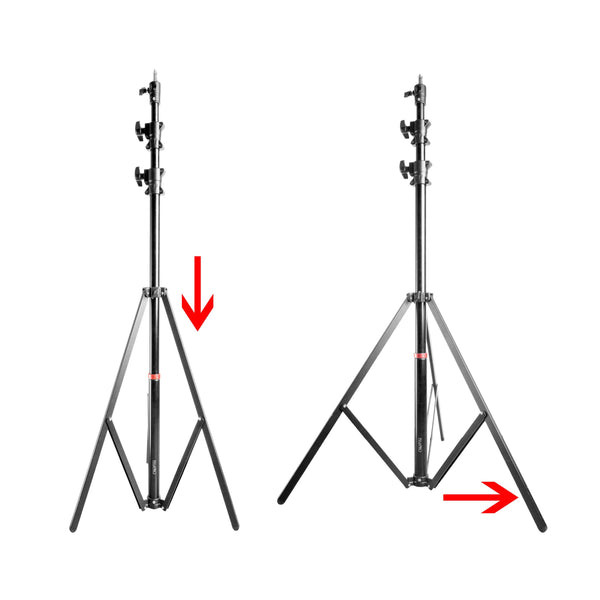
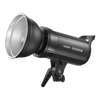
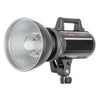
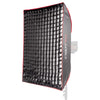
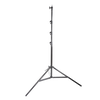
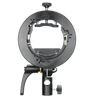
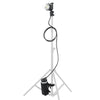
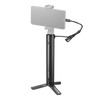
For this shoot I was using 2 Pixapro Daylite 60D’s, The Pixapro Ricebowl octobox and the Universal Barndoor. The camera used was a Canon EOS R6 with the Sigma 50mm 1.8 Art (with the Canon RF-EF mount)
Light Setup
I wanted to try and make the shoot as dramatic as possible. I wanted to minimise fill to really accentuate the shadows to give the overall look a little more ominous feel. Prior to setting up, I thought about where any windows could be in this particular scenario. I imagined a slit of light coming in through a nearby window and played about with positioning.

Helmet Shot
For the slit of light, to camera left, I used the Daylite 60D with the standard reflector and the Universal Barndoor system with the barndoors closed as much as possible. With the power on full, I got Josh to lean slightly into the light so it would appear the slit of light would only light up his left eye. The light slit really brought out the colour in his eyes and made the green of his helmet really pop. Using the remote that came with the Daylite 60D it made it super easy to control and change without having to constantly walk backwards and forwards to the light. 
The Shoulders-Up Shot
As the light was already set up from the previous shot, I got Josh to take the helmet off and sit down on a barrel. I wanted this one to feel a bit more menacing than the previous. With the lights being continuous, it was super easy to move the lights quickly into position without having to take countless test shots to make sure they were in the right spot. Make slight adjustments with the remote and boom, we were ready to shoot the next shot.

Headshot
For this photo I imagined the subject looking up into a roof window or out of the top of a castle. I placed another Daylite 60D above and slightly to the right of out subject with the Rice-Bowl Octabox. Bringing that light as close as I could to the subject without it being in frame, gave the light more of an opportunity to wrap around Josh's face and really darken the background. However, after doing this, I found the background was a little too dark. I took the other Daylite 60D and used the barndoors to create another slit in the background just to add a little bit of separation from the background. To change it up a little from the first image, I rotated the barn doors, so the slit sat at a 45 degree angle against the background.

The ¾ shot
Using the same lighting setup as the Headshot, I changed my position slightly, so I was shooting up to out subject giving him a more powerful position in the photo. Slightly different to the headshot though, I got Josh to hold his helmet to add a little more interest to the shot.

Conclusion
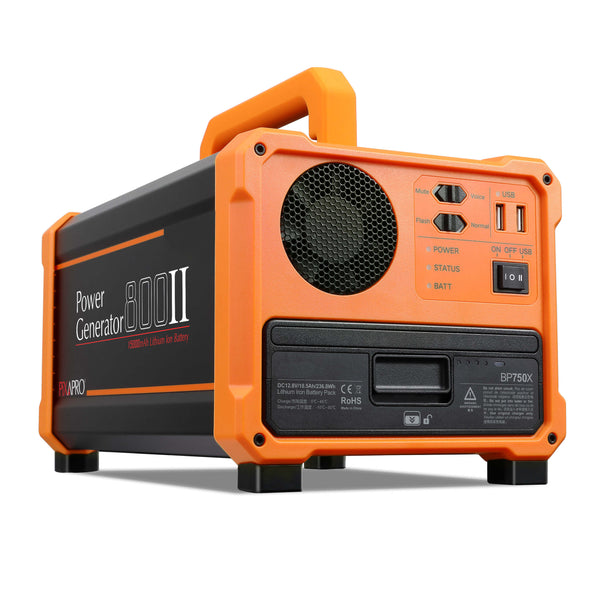
For me personally, using the Daylite 60D’s speeds up production time to no end. Knowing exactly where the light falls without having to constantly take test shots is one thing, but with them being so lightweight and compact, I can take them anywhere. With them only being 60W as well, it makes them the ideal candidate to take on location for both photo and video, along with power such as the Pixapro Power Generator 800 II.
Are there downsides? Sure. The relatively low power output of 60W of the Daylite 60D means that you need to be utilising them when ambient light is lower, however, when shooting indoors, doing environmental portraits and shooting at night, I genuinely cannot think of a better continuous light to use."
Written by Andrew Cockerill.
Find some more of Andrew's work on his website or on his YouTube Channel.